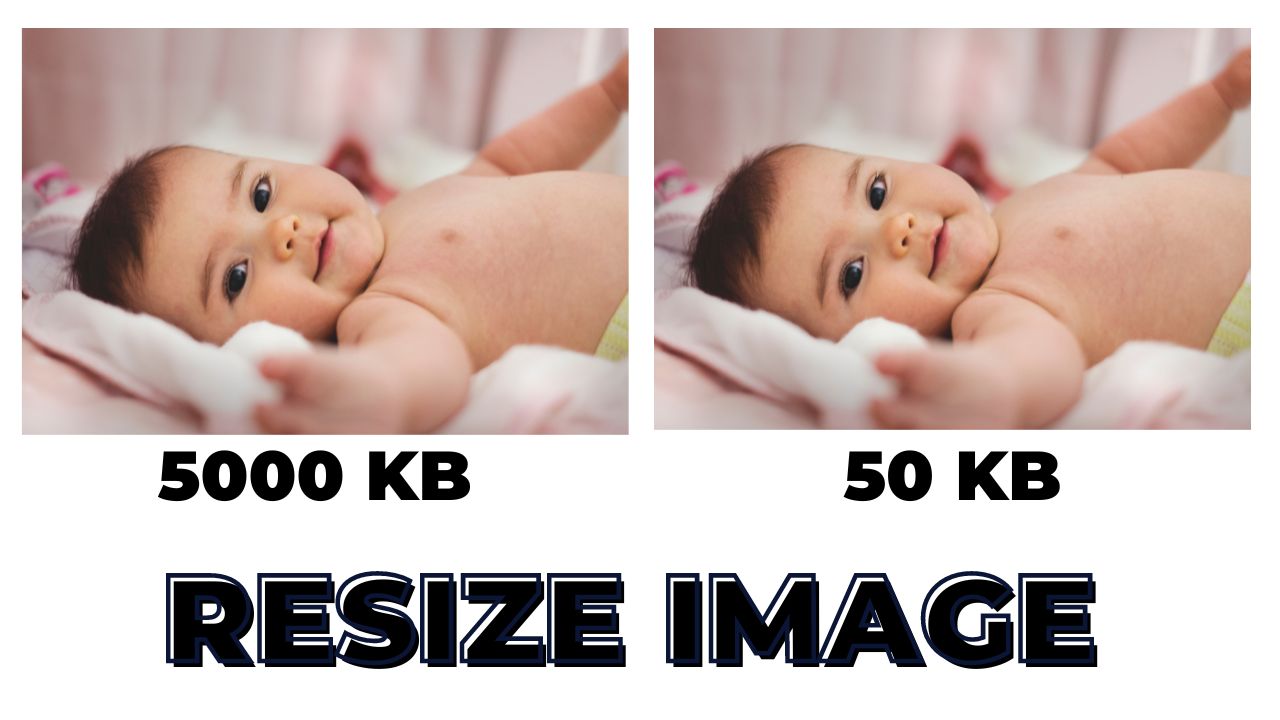
Resize Photo For Free Online
In the digital age Optimising picture size is essential for effective online surfing and pleasant user experiences. Large picture files may greatly increase the bounce rate of websites. We have created a simple and user-friendly picture resizing tool to solve this problem. In this blog article, we’ll explain how our Image Resizer works and provide you tips on how to use it wisely to quickly resize your images.
Step 1: Choosing an Image
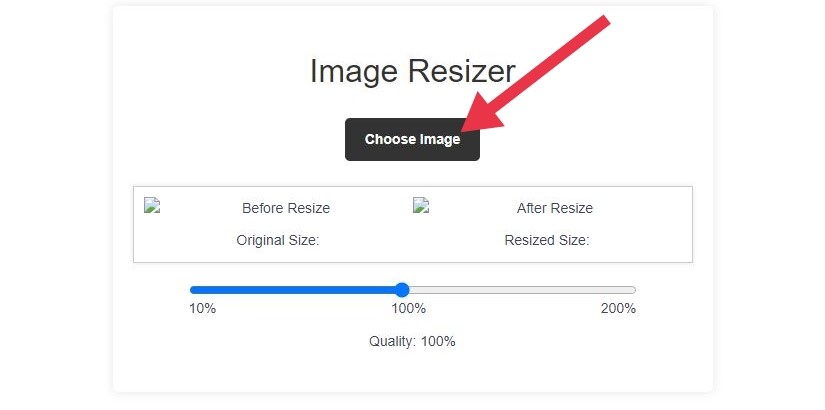
To start resizing your image, follow these steps:
Find the “Choose Image” button on the Image Resizer tool, and then click it.
By doing this, a file dialogue box will pop up, allowing you to browse your local files and choose the picture you wish to resize.
After selecting the picture file, click “Open” to continue.
Step 2: Changing the Resize Percentage
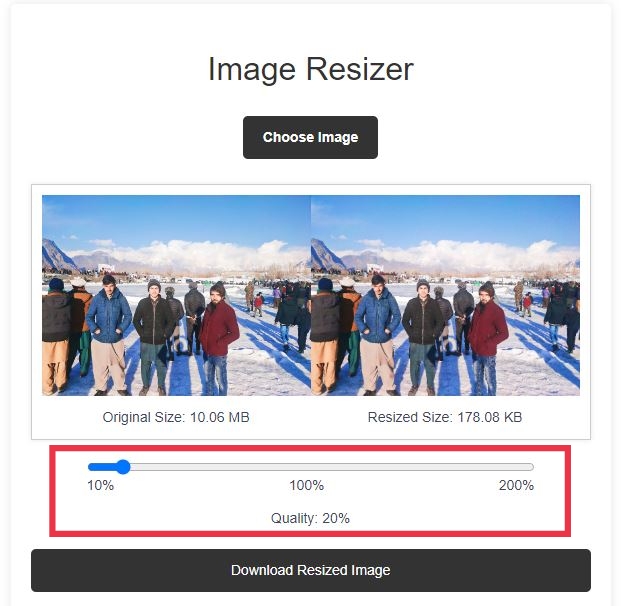
A slider with the name “Resize Percentage” is included in the Image Resizer tool.
To set the appropriate resizing percentage, drag the marker along the range of 10% to 200%.
The picture will remain the same size because the default setting is 100%. The picture size rises as you slide to a larger percentage; it decreases when sliding the slider to a lower percentage.
Step 3: Previewing the Original and Resized Images
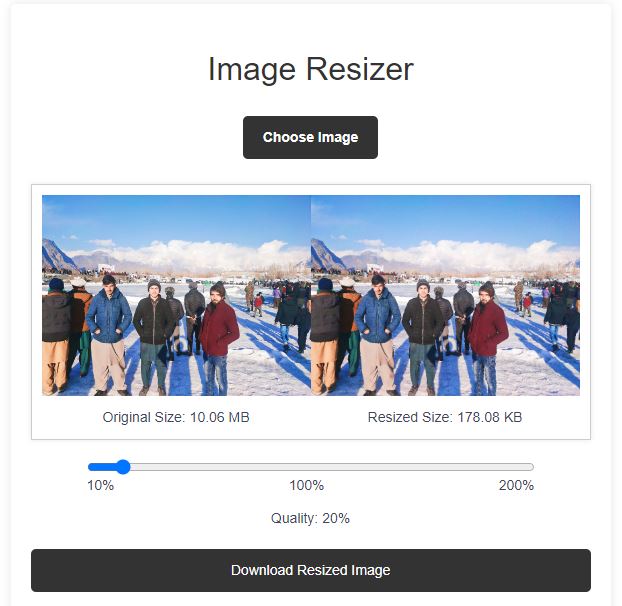
Both the original picture and the resized image are shown side by side in the preview container provided by the tool.
The preview container will instantly update to reflect the changes as soon as you choose a picture and modify the resize percentage.
The “After Resize” picture shows the resized version, while the “Before Resize” image shows the original image.
Step 4: Checking the File Size
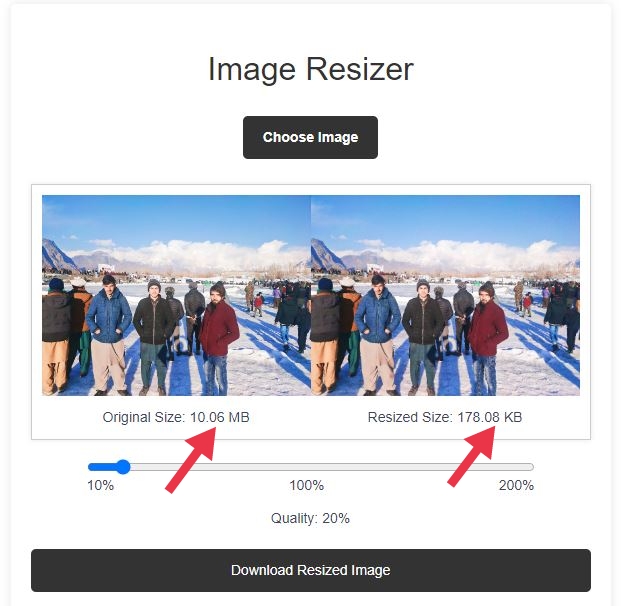
The file sizes of each image in the preview container are listed below it.
The size of the chosen picture file before scaling is shown in bytes (B), kilobytes (KB), or megabytes (MB) in the “Original Size” column.
The “Resized Size” section shows the size of the resized image file, also in B, KB, or MB. This makes it easier for you to determine how much file size was cut by resizing.
Step 5: Downloading the Resized Image
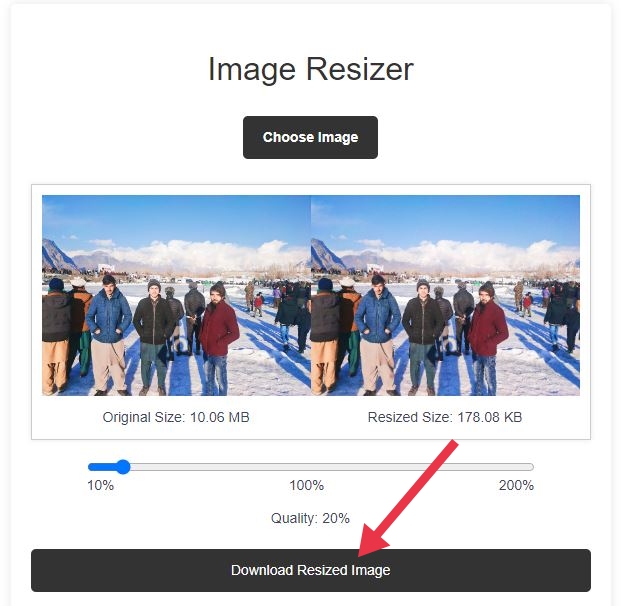
Once you’re satisfied with the resized image and ready to save it, look for the “Download Resized Image” button.
The resized photo file will be downloaded to your device after you click the download button.
The default file format for the resized image is JPEG, which strikes a good balance between image quality and file size. You can rename the downloaded file as needed.
Bookmark Our Image Resizer Tool for Easy Access:
To make it as simple as possible to use our image resizing tool. We advise bookmarking this page for quick access anytime you need to resize your photos. By bookmarking the page, you can simply click on the bookmarked link to return to the Image Resizer tool without the need to search for it again. It’s a convenient way to have the tool at your fingertips whenever you require it. So go ahead and save this page to your bookmarks so you can easily use our simple Image Resizer anytime you need it.
If you want to resize multiple images simultaneously then click here.
