
Long AI video creation is becoming one of the fastest-growing content trends on YouTube. Many creators are now making long animated story videos using AI tools, image prompts, voiceovers, and video generators. The best part is that you do not need a big team, expensive animation software, or advanced editing skills to get started.
In this guide, I will show you a simple step-by-step process to create professional AI videos using a master prompt, AI-generated image prompts, Google Flow, Google Vids, and other free or beginner-friendly tools.
Step 1: Start With a Strong Story Idea
Every good long AI video starts with a strong idea. Before generating images or videos, you need a clear story concept.
The story should have:
- A strong hook at the beginning
- Interesting characters
- A clear problem or conflict
- Emotional moments
- Funny or surprising scenes
- A satisfying ending
Tech Karimi
Consistent AI Vegetable Video Master Prompt
Neeche wala complete prompt copy karein aur Claude AI mein paste kar dein.
You can use the master prompt with any of these leading AI tools:
Simply open any of these tools, paste the complete master prompt, and ask it to generate multiple unique and engaging story ideas. Review the suggested concepts and choose the one that feels most entertaining, original, and suitable for your YouTube audience. You can also ask the AI to make the ideas funnier, more emotional, more adventurous, or more suspenseful according to your channel’s style.
Step 2: Generate the Complete Story Summary
After selecting the story idea, ask the AI to create a complete story summary. This summary helps you understand the full direction of the video before creating scenes.
At this stage, do not rush into image prompts. First, make sure the story is strong, entertaining, and suitable for your channel. If the summary looks weak, ask the AI to improve the hook, emotional moments, comedy, suspense, or ending.
Once the story feels good, approve it and move to the next step.
Step 3: Create Consistent Characters
For professional long AI videos, character consistency is very important. If your main character looks different in every scene, the video will look unprofessional.
Ask the AI to create a detailed character description for each main character. This should include:
- Character name
- Age or personality type
- Face shape
- Body style
- Outfit or design details
- Colors
- Expressions
- Voice style
- Special identifying features
After that, generate character reference images. Keep these images saved because you will use them again and again to maintain consistency in your scenes.
Step 4: Generate Scene Image Prompts
Once the story and characters are ready, ask the AI to create image prompts for all scenes.
Each image prompt should describe:
- Scene number
- Location
- Character placement
- Facial expressions
- Lighting
- Camera angle
- Background details
- Mood of the scene
- 16:9 YouTube video style
For example, each prompt can be written like this:
- A cinematic 3D animated scene showing the main character standing in a colorful village market, looking surprised, warm morning lighting, expressive face, detailed background, family-friendly animation style, 16:9 aspect ratio.
This makes the process organized and easier to follow.
Step 5: Open Google Flow and Create Images
Now open a new browser tab and go to Google Flow or your chosen AI image generation tool.
If your workflow requires an extension or tool such as Zapi Flow, install or enable it properly before starting. Make sure you follow the official instructions of the platform you are using.
Now copy the image prompt for Scene 1 and paste it into the image generator. Generate the image and check if the character, background, and style look correct.
If the image is good, download it. If it is not good, adjust the prompt and regenerate it.
Repeat this process for every scene.
Step 6: Keep All Images Organized
This step is very important for long videos.
Create a folder on your computer and name your images properly:
- Scene-01.png
- Scene-02.png
- Scene-03.png
- Scene-04.png
Do not use random file names. If you are creating 50 to 75 scenes, proper naming will save a lot of time during editing.
Step 7: Convert Images Into Videos
After downloading your scene images, you can turn them into short video clips using tools like Google Vids, Google Flow, or any image-to-video AI tool.
For each image, use an image-to-video prompt that describes:
- Character movement
- Camera movement
- Facial expression
- Hand gestures
- Background motion
- Scene mood
- Voice or lip-sync direction
- Duration of the clip
For example:
Use the provided image as the exact first frame. Animate the character with natural body movement, slight hand gestures, blinking eyes, and realistic facial expression. Add a slow cinematic camera push-in. Keep the character design exactly the same. Do not redesign the face, outfit, or background. Duration: 8 seconds.
This helps the AI create a smooth video while keeping the character consistent.
Step 8: Use Google Vids and Google Flow Together
You do not have to use only one tool. Some scenes may look better in Google Vids, while others may look better in Google Flow.
You can test both tools and choose the best result for each scene.
For example:
- Use Google Flow for cinematic character animation
- Use Google Vids for simple presentation-style clips
- Use another AI video tool if it gives better motion or lip-sync
The goal is to create the best final video, not to depend on only one tool.
Step 9: Add Voiceover
A professional AI video needs a natural voiceover. You can create the voiceover using tools like ElevenLabs or any realistic AI voice tool.
Make sure the voice sounds:
- Natural
- Clear
- Emotional
- Non-robotic
- Suitable for your audience
- Properly paced for each scene
If your video is for Pakistani and Indian audiences, use simple Hindustani words that both sides can easily understand.
Step 10: Edit Everything Together
After generating all clips, import them into a video editor.
You can use:
- CapCut
- Premiere Pro
- DaVinci Resolve
- Canva
- Google Vids
- Any beginner-friendly editor
Arrange all clips in order, add the voiceover, background music, sound effects, and transitions.
Keep the editing clean. Do not overuse effects. The story should remain easy to follow.
Step 11: Add Sound Effects and Music
Sound design makes a big difference in AI videos.
Add sounds like:
- Footsteps
- Wind
- Door sounds
- Market ambience
- Crowd reactions
- Emotional background music
- Comedy sound effects
- Suspense music where needed
Keep the background music low so the voiceover remains clear.
Step 12: Export and Upload to YouTube
Once your final video is ready, export it in 16:9 format. For YouTube long videos, 1080p is usually enough, but 4K can also be used if your system supports it.
Before uploading, prepare:
- A strong title
- A clean thumbnail
- SEO-friendly description
- Relevant tags
- A short pinned comment
- A good intro hook
Your thumbnail and first 30 seconds are very important because they decide whether people will continue watching or leave.
Important Tip About Free Credits
Many AI tools offer free credits or free limited usage. Use them carefully and plan your scenes before generating. Do not waste credits on random tests.
If your free credits finish, use official options such as waiting for the next credit refresh, trying another approved free tool, or upgrading to a paid plan if the tool is useful for your work.
Always follow the rules and terms of the platform you are using.
Final Thoughts
Creating long AI videos may look difficult in the beginning, but once you understand the workflow, it becomes much easier.
The complete process is:
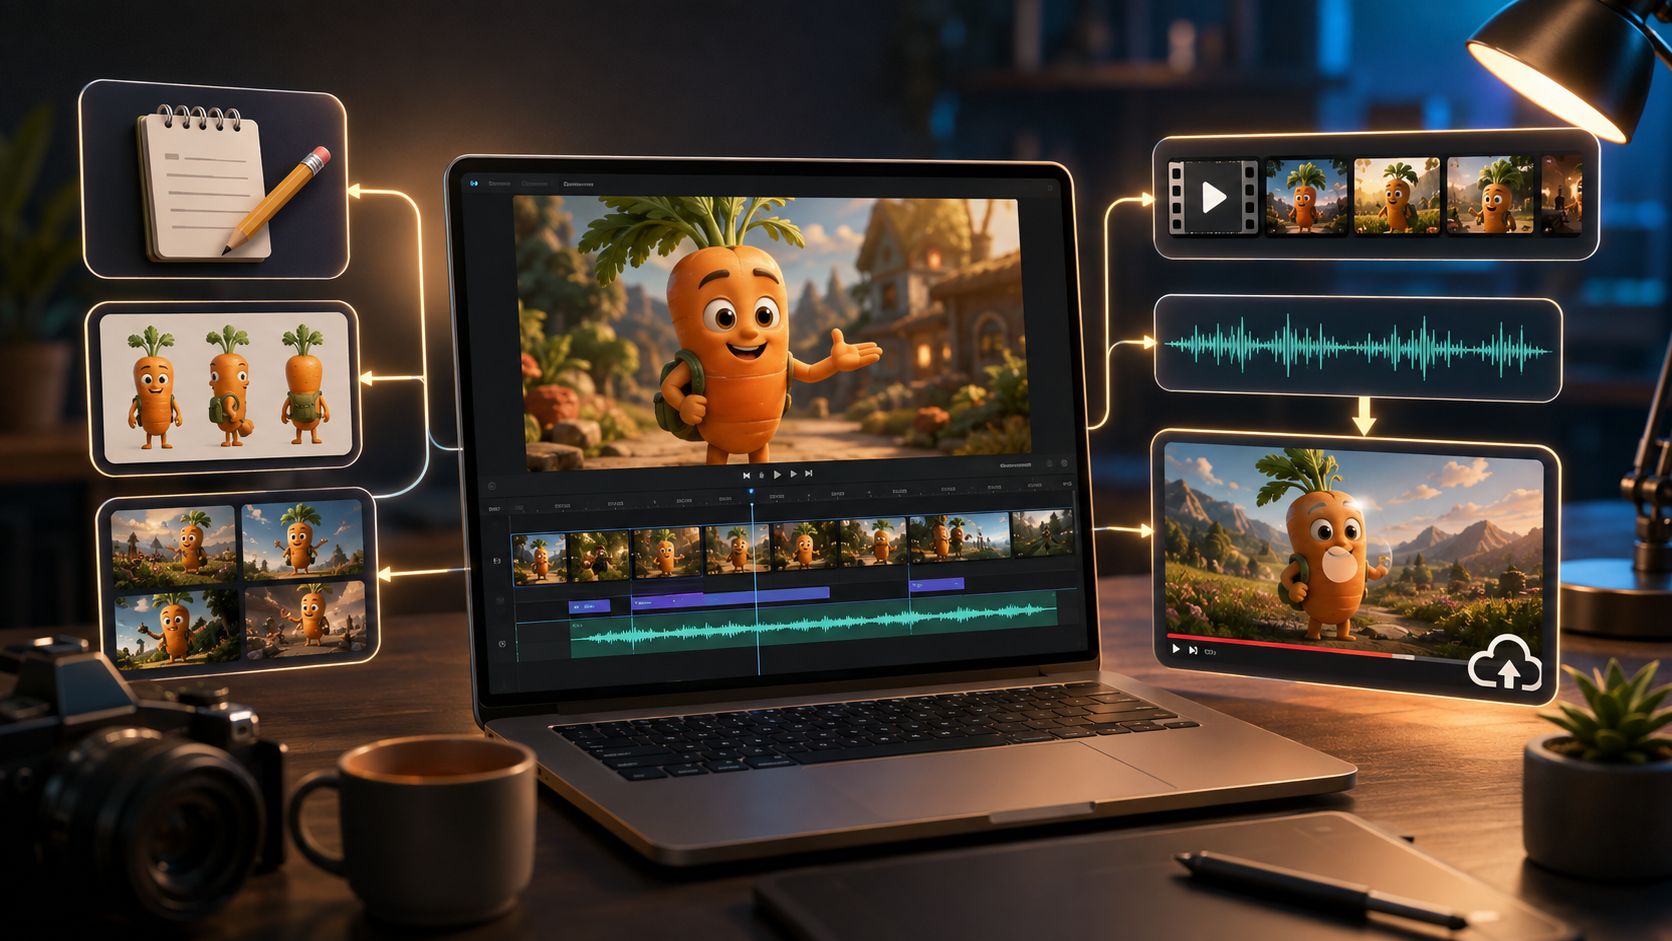
Story idea → Story summary → Character design → Image prompts → Image generation → Image-to-video clips → Voiceover → Editing → YouTube upload
If you follow this process step by step, you can create professional-looking Long AI videos even as a beginner.